Play d’eau at dawn off the Belgian coast click to enlarge
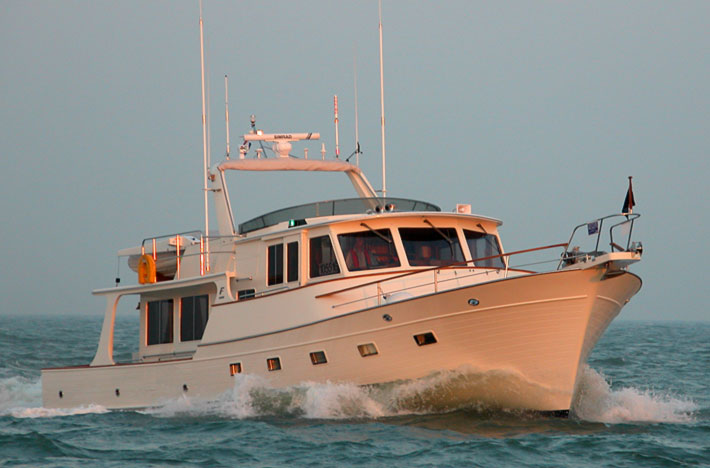
It’s the start of a new adventure for Piers and Lin aboard Play d’eau – we’re moving aboard our recently refitted Fleming 55 as full time liveaboards based in Beaucette Marina, Guernsey in the Channel Islands.
Please keep a eye on this site for messages about our experiences and adventures in the months and years to come.
Piers and Lin
from the Saloon of Play d’eau
Fleming 55
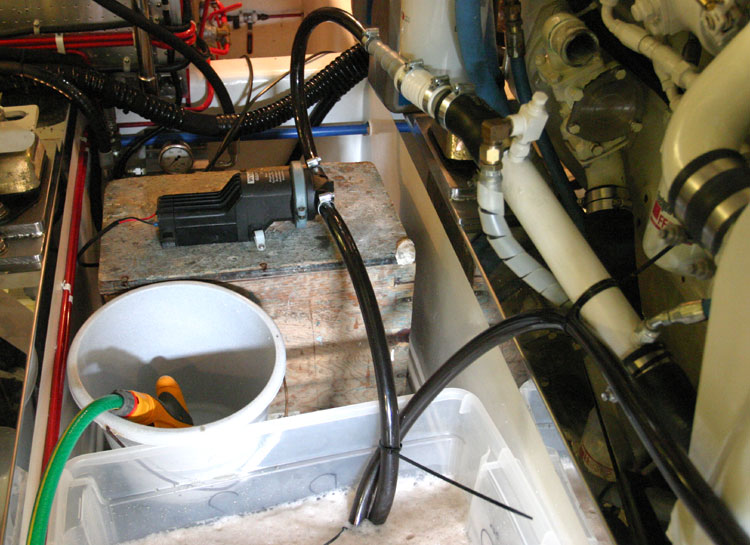
The Gulper pump connected to the tub of Rydlyme and the engine’s cooling system click to enlarge
After 7 years, Play d’eau’s engine logs were showing an increase in water temperature of some 5 degrees on each engine when at cruise rpm.
The most likely cause was a gradual build up of limescale in the tubes of the heat exchanger. Certainly, when squeezing the rubber hoses of the cooling circuit, they ‘crackled’ as the limescale crumbled.
Being short of time, removing the heat exchangers and sending them away for cleaning was not an option. Furthermore, it would not resolve the limescale problems in the rest of the cooling circuit.
So, after research on the web, I devised an alternative solution. I would ‘descale’ the complete cooling circuit of each engine by circulating Rydlyme instead of sea water.
Normally, sea water is sucked through a strainer by the sea-water pump where the impellor forces it into the engine’s cooling circuit and heat exchanger before it’s finally dumped overboard. Some of this sea water is bled off to be sprayed into the engine’s hot exhaust gasses to cool them.The OUT side of the Gulper connected to the start of the engine’s cooling circuit click to enlarge
My plan was to use a Gulper pump in place of the sea-water pump and a large tub of the dark brown Rydlyme in place of sea water. A pipe would connect the tub to the IN side of the Gulper with another to connect the OUT to the hose at the start of the engine’s cooling circuit.
Not to lose the Rydlyme overboard, I connected a pipe from where the sea water would normally discharge overboard back to the Rydlyme tub. Making the hose connections required a number of hose connectors which were all readily available at the local Chandlery.
The final preparation required the removal of any anodes since these would be attacked by the Rydlyme. In their place, I used blanking plugs.
Testing involved turning the Gulper on and checking for leaks using water from a tub. None was found. Now for reality. With the water replaced by Rydlyme the Gulper was started and soon the dark brown liquid was fizzing away as all the limescale was being eaten away.
It took about an hour per engine before the fizzing and frothing stopped indicating no lime scale was left. Checking that it wasn’t just that the Rydlyme was spent was simple – I dropped a piece of limescale into the Rydlyme. It fizzed showing there was life in the dark brown.The end of the engine’s cooling circuit connected to a pipe to return to the tub of Rydlyme click to enlargeOverall, the exercise took less than one day. Total success. Both engines had been fully descaled, the proof of which was a reduction in cruise water temperature to the original figure. Yes!
Piers
from the Engine Room of Play d’eau
Fleming 55
Dual controls for bow and stern thrusters click to enlarge
We always thought that having a bow thruster was an admission of inability to drive a boat properly. I mean, you should be able to use a combination of props and rudder, and/or a combination of this with your warps, shouldn’t you?
But it didn’t take too long before we realised the bow thruster was a total boon when there’s little room to manoeuvre in a marina, especially if the wind is really strong.
As time passed, we began to wonder about a stern thruster as well. Would it really be useful?
When we anti-fouled Play d’eau in March 2010, we bit the bullet and decided to have a stern thruster fitted. We chose the same make (American Bow Thruster, Side Power) but because it was for the stern it could be slightly less powerful (less windage).
Seeing it came with the upgraded propeller design we upgraded the bow thruster’s propeller at the same time given it would increase power by 15%.
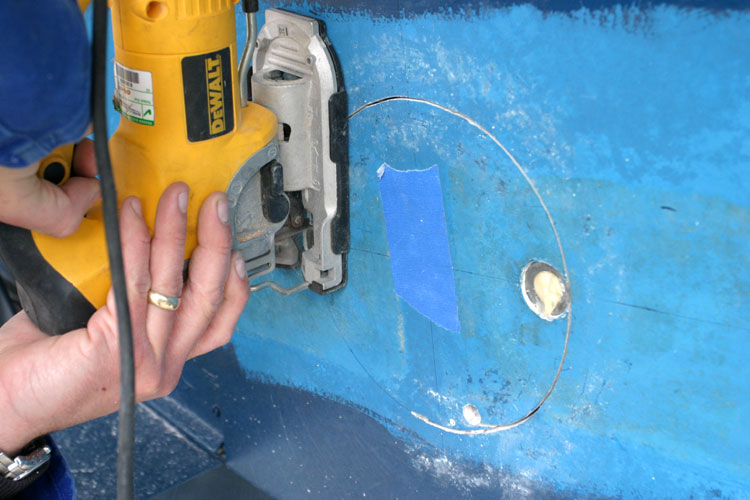
Before the hole could be cut in the transom, the main anodes had to be re-sited.
Watching the hole being cut was unnerving to say the least! Once cut, the thruster was mounted, secured, and the tunnel added. Overhead flaps were added to the tunnel to help prevent cavitation, and dual controls were installed. With the tunnel epoxied and anti-fouled, Play d’eau was ready to be launched.
Were there any water leaks? No. Was it really a good idea to have a stern thruster? Yes, Was it really necessary to have a stern thruster fitted? No. Are we glad we have it? Yes – just in case. Have we used it? Yes….
Piers and Lin
from the Engine Room of Play d’eau
Fleming 55
The hole is cut for the stern thruster click to enlargeThe hole, ready for the thruster click to enlarge
The thruster installed and the tunnel epoxied click to enlargeOverhead flaps added, and anti-fouled click to enlarge
The old (left) and new style propeller (right) click to enlarge
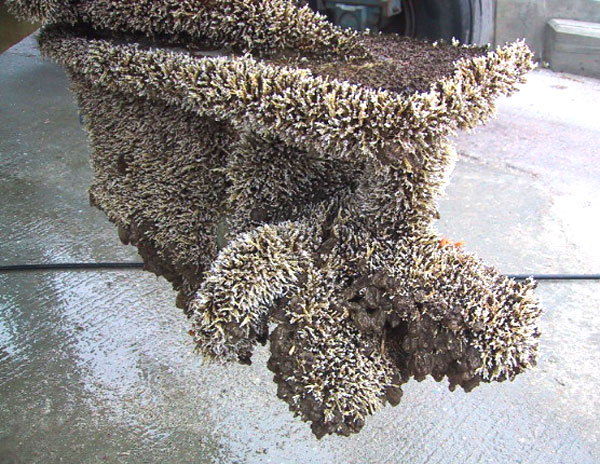
Fouling after one month! click to enlargeWhen we had our Princess V39 we kept her at Berthon Lymington Marina on the Solent.
In September 2002, after just a month of not using her, we went for a short spin to Yarmouth for lunch taking some family members who had never been on board before.
Excitement was high.
Out of the Lymington fairway and past the Jack in the Basket marker, we opened the throttles expecting her to fly.
But something was wrong. The engines wouldn’t rev and we couldn’t increase speed.
Play d’eau’s get up and go had got up and gone – completely.
Back in her berth, I raised the outdrives and found the problem.
Having her lifted revealed all….
Very pretty, but…. click to enlarge
Piers
from the Engine Room of Play d’eau
Fleming 55
These were the voyages of Piers and Lin du Pré aboard their Fleming 55


 and new style propeller (right)")